

































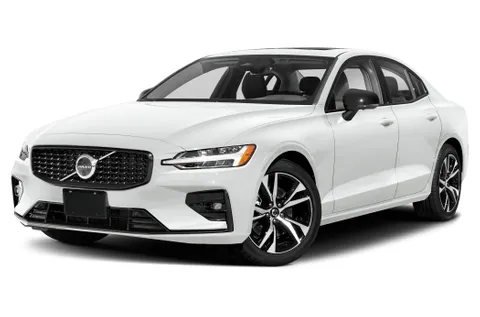







Installation Instruction of Headlight Cover
For DIY Enthusiasts:
We encourage those with hands-on skills to attempt self-installation. If unsure, please visit an auto repair shop for professional assistance.
Step-by-Step Guide
Using an Oven (Recommended):
- Remove the rear cover and bulb from the headlight assembly.
- Place the headlight in an oven preheated to 80°C (176°F) for 10 minutes to soften the adhesive.
- Gently separate the lens from the housing.
Using a Heat Gun (Alternative):
- Heat the sharpest corner of the headlight with the heat gun, section by section.
- Once the adhesive softens, carefully insert a flathead screwdriver to pry it open.
- Caution: Do not overheat (risk of damaging the housing). Stop heating when the surface feels warm to the touch (test with gloves).
Separating the Lens:
- Once heated, quickly and forcefully pry open the corner. Pull hard! (Wear non-shedding gloves.)
- If resistance occurs, reheat the area and repeat. A skilled user can complete separation within 1 minute.
Preparing for Reassembly:
- Clean residual adhesive from the housing’s glue channel thoroughly.
- Transfer decorative trim from the old lens to the new one.
Applying New Adhesive:
- Cut the tip of the provided glue tube at a 45° angle (adjust cut size if glue flow is insufficient).
- Fill the glue channel to 50%-70% height with a continuous bead.
Reassembling the Lens:
- Align and press the new lens onto the housing.
- Excess glue can be left to dry and later trimmed with a blade. Wipe off any glue residue on the lens surface with a cloth.
Curing & Final Steps:
- Air-dry the assembly in a well-ventilated area for 3-5 days before reinstalling.
- Avoid washing the vehicle or exposing it to rain for 1 week to prevent water ingress.
Safety Notes
- Always wear heat-resistant gloves.
- Work in a well-ventilated area.
- Do not rush curing—patience ensures a waterproof seal.